If you’ve ever dreamed of a dessert that’s easy to make, mouthwateringly delicious, and perfect for any occasion, Butterfinger Balls are here to fulfill that wish. These no-bake treats combine the crunch of Butterfinger candy bars, the creaminess of peanut butter, and the decadence of chocolate into bite-sized morsels of joy.
Whether you’re whipping them up for a holiday party, a bake sale, or just because you deserve a little indulgence, this recipe is guaranteed to hit the sweet spot. Moreover, you can customize them endlessly to suit your taste or dietary preferences.
Table of Contents
What Are Butterfinger Balls?
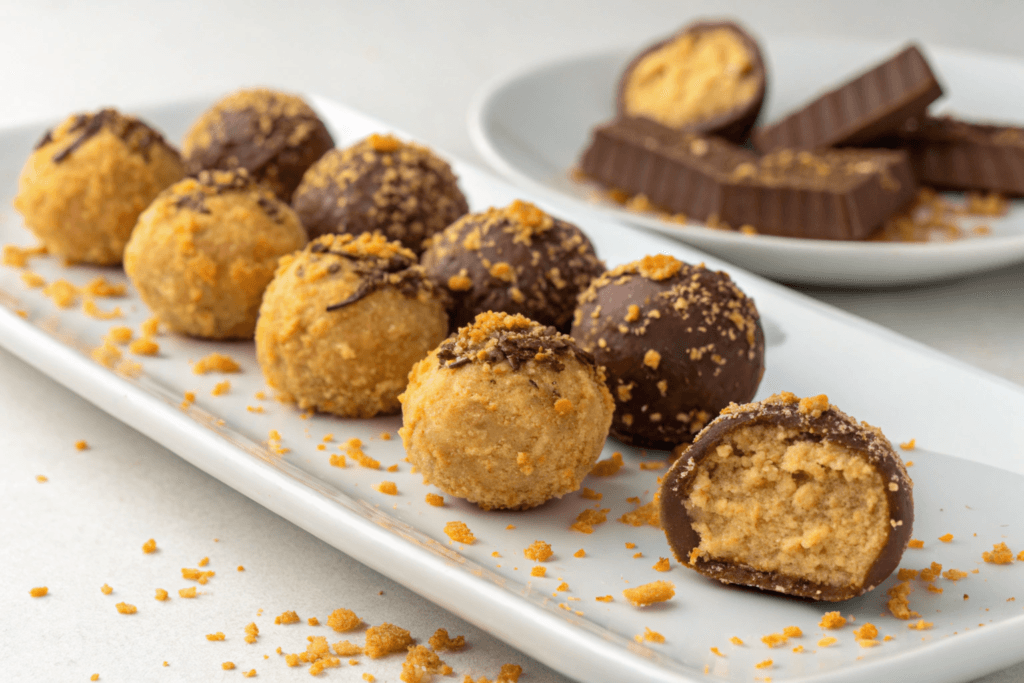
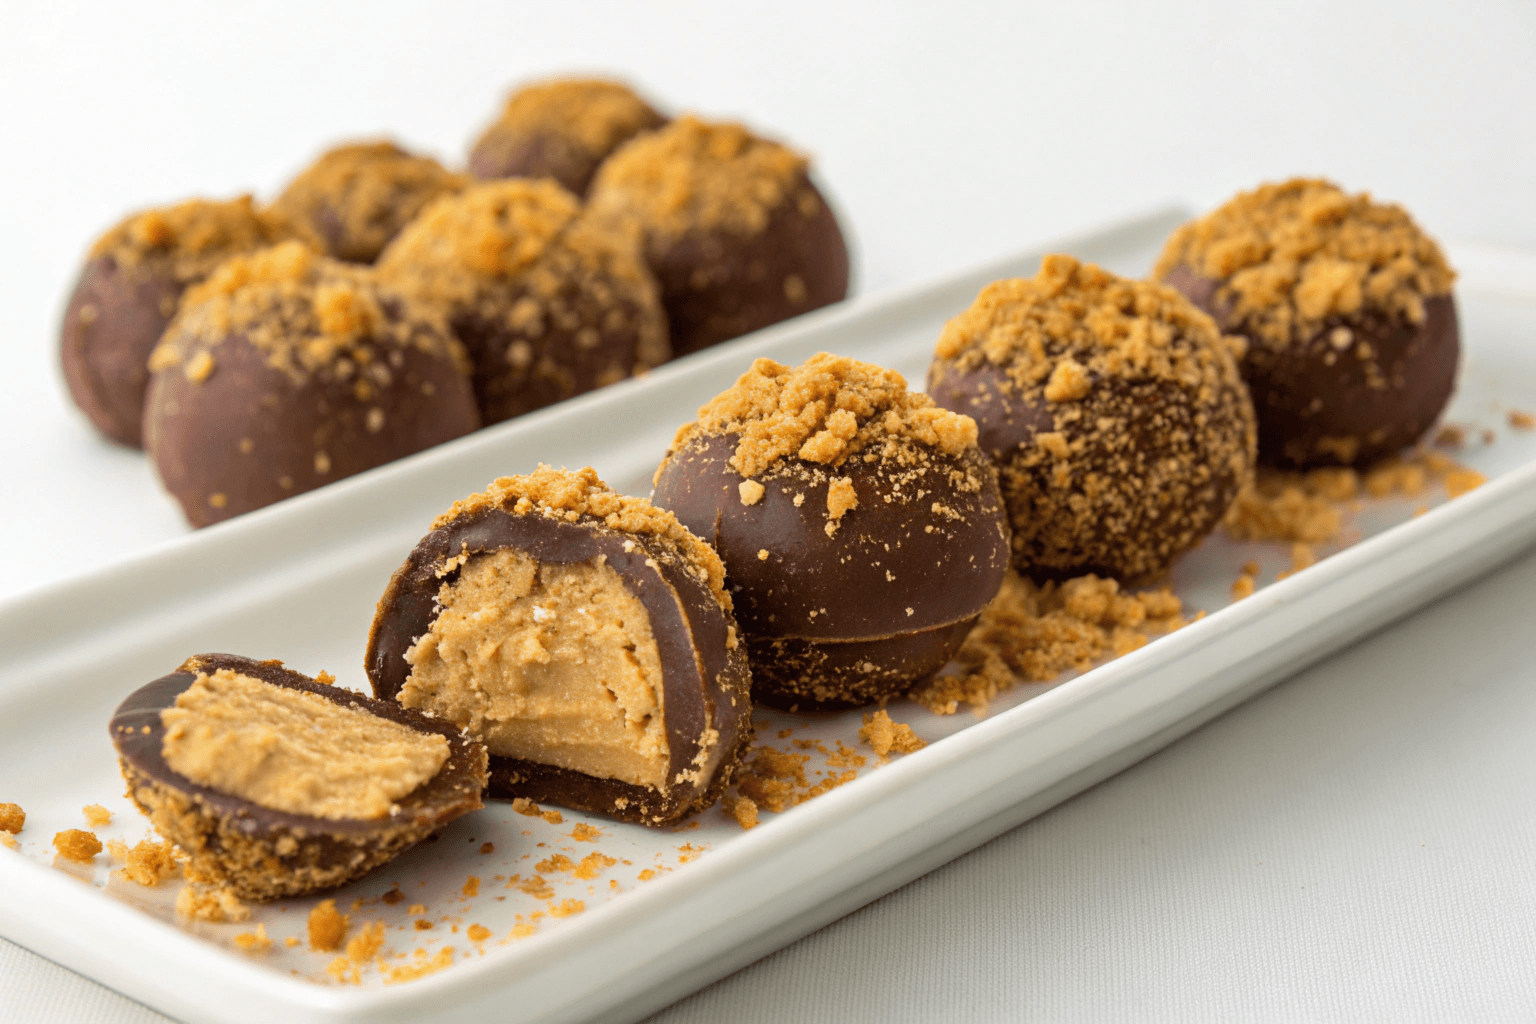
Butterfinger Balls are small, round confections made by mixing crushed Butterfinger candy bars with creamy peanut butter and powdered sugar. These little balls of bliss are then coated in smooth, melted chocolate, creating the perfect balance of flavors and textures.
Unlike some desserts that demand hours of your time or advanced baking skills, Butterfinger Balls are simple enough for anyone to make. They’re no-bake, quick to prepare, and incredibly satisfying.
Why Butterfinger Balls Are a Must-Try
There are plenty of reasons to fall in love with Butterfinger Balls:
- Quick and Easy: The recipe comes together in less than an hour, making it perfect for last-minute dessert needs.
- No Baking Required: If you’re not a fan of baking or don’t want to heat up your kitchen, these are ideal.
- Crowd-Pleaser: With their rich and indulgent taste, Butterfinger Balls are always a hit, no matter the occasion.
- Customizable: Whether you want a nut-free version, a healthier twist, or a festive spin, there’s a variation for everyone.
Ingredients for Butterfinger Balls
Essential Ingredients
To get started, gather the following:
- Butterfinger Candy Bars: These give the recipe its signature crunch and caramelized peanut butter flavor.
- Creamy Peanut Butter: Acts as the binding agent while adding richness.
- Powdered Sugar: Sweetens and helps achieve the right consistency.
- Chocolate Chips or Melting Chocolate: For that luscious, glossy coating.
Optional Add-Ins
To make your Butterfinger Balls unique, consider these extras:
- Sprinkles: For a festive touch.
- Crushed Nuts: To add a bit more crunch.
- Sea Salt: For a sweet-and-salty twist.
Step-by-Step Recipe for Butterfinger Balls
Step 1: Crush the Butterfinger Candy Bars
First, place your Butterfinger candy bars in a ziplock bag and crush them into small pieces using a rolling pin. Alternatively, you can use a food processor for quicker results. Make sure the crumbs are fine and even to make sure a smooth mixture later on.
Step 2: Mix the Ingredients
Next, combine the crushed Butterfinger pieces, peanut butter, and powdered sugar in a large mixing bowl. Stir well until the mixture comes together into a thick, sticky dough. If it’s too soft to handle, pop it in the fridge for 10–15 minutes to firm up.
Step 3: Shape Into Balls
Using your hands or a small cookie scoop, take portions of the mixture and roll them into balls. Aim for about one tablespoon per ball to keep the sizes consistent. Place them on a baking sheet lined with parchment or wax paper.
Step 4: Melt the Chocolate
While the balls chill in the fridge, melt your chocolate. Place the chocolate chips or candy melts in a microwave-safe bowl and heat in 30-second intervals, stirring after each. Continue until the chocolate is smooth and fully melted.
Step 5: Dip the Balls
Now comes the fun part! Using a fork or toothpick, dip each ball into the melted chocolate, ensuring it’s fully coated. Let any excess chocolate drip off before placing the coated balls back onto the lined baking sheet.
Step 6: Let Them Set
Finally, allow the chocolate to harden. You can leave them at room temperature or speed up the process by refrigerating them for about 20 minutes. Once the chocolate is firm, your Butterfinger Balls are ready to enjoy!
Tips for Success
Achieving perfect Butterfinger Balls is easy if you follow these tips:
- Use Room-Temperature Peanut Butter: This makes it easier to mix the ingredients.
- Don’t Overheat the Chocolate: Melt chocolate slowly to avoid burning or seizing.
- Chill as Needed: If the mixture gets too sticky or soft, refrigerate it for a few minutes to make handling easier.
- Decorate Before the Chocolate Sets: If adding sprinkles or nuts, sprinkle them on immediately after dipping to make sure they stick.
Creative Variations
Butterfinger Balls are fantastic on their own, but a little creativity can make them even better:
Nut-Free Butterfinger Balls
Replace peanut butter with sunflower seed butter or cookie butter for an allergy-friendly version.
Dark Chocolate Lovers’ Delight
Use dark chocolate instead of milk chocolate for a slightly less sweet and richer flavor.
Holiday-Themed Treats
Add red and green sprinkles for Christmas or orange and black accents for Halloween. They’re perfect for adding a festive flair.
Healthier Option
Swap powdered sugar with a natural sweetener like coconut sugar, and use sugar-free chocolate for a lower-calorie treat.
Storage and Serving Tips
How to Store
- Refrigerator: Store Butterfinger Balls in an airtight container in the fridge for up to two weeks.
- Freezer: To make them last longer, freeze them in a sealed container or bag for up to three months.
Serving Suggestions
- Serve Butterfinger Balls on a dessert platter at parties.
- Pair them with a hot cup of coffee or tea for an afternoon snack.
- Wrap them in decorative boxes or jars for a thoughtful homemade gift.
Nutritional Information
Although Butterfinger Balls are a treat, it’s good to know what’s inside. Here’s an approximate breakdown per ball:
- Calories: 150–200
- Carbohydrates: 18g
- Protein: 4g
- Fat: 10g
Keep in mind that nutritional values may vary based on ingredient brands and portion sizes.
Why You’ll Keep Coming Back to Butterfinger Balls
These treats are more than just a dessert—they’re a surefire way to brighten anyone’s day. The crispy, creamy, and chocolatey combination is simply irresistible. Moreover, the recipe is flexible enough to adapt to any taste or occasion. Whether you’re hosting a dinner party, looking for a fun cooking project, or just treating yourself, Butterfinger Balls will never disappoint.

Conclusion
Butterfinger Balls are a testament to how simple ingredients and minimal effort can result in an extraordinary dessert. Their perfect combination of crunch, creaminess, and chocolate indulgence makes them a go-to treat for every occasion. Whether you’re making these for your family, sharing them with friends, or keeping a stash for yourself, they’re sure to impress.
Additionally, the recipe’s flexibility means you can adapt it to fit your preferences or the theme of any celebration. From nut-free options to holiday-inspired designs, there’s no limit to what you can create.
So, why not give them a try? You’ll find that Butterfinger Balls are more than just a dessert—they’re a delightful experience that brings joy with every bite.
FAQs
1. Can I Make Butterfinger Balls Ahead of Time?
Yes! Butterfinger Balls can be made in advance and stored in the refrigerator or freezer until you’re ready to serve them.
2. What Can I Use Instead of Peanut Butter?
You can use almond butter, sunflower seed butter, or even cookie butter as a substitute.
3. How Long Do Butterfinger Balls Last?
In the refrigerator, they stay fresh for up to two weeks. If frozen, they can last for three months.
4. Are Butterfinger Balls Kid-Friendly?
Absolutely! Kids can help with rolling the mixture and decorating the finished balls. It’s a fun and easy activity for all ages.
5. Can I Use White Chocolate for Coating?
Yes, white chocolate works beautifully. You can even drizzle dark chocolate over the top for a stylish contrast.
Print
Butterfinger Balls: A Simple and Irresistible Treat
- Total Time: 20 minutes
- Yield: About 24 balls 1x
- Diet: Vegetarian
Description
These Butterfinger Balls are a delightful no-bake treat that combines creamy peanut butter, crushed Butterfinger candy bars, and chocolate for a crunchy, sweet, and irresistible bite-sized dessert. Perfect for parties, holidays, or just a sweet snack!
Ingredients
- 1 ½ cups crushed Butterfinger candy bars
- 1 cup creamy peanut butter
- 2 cups powdered sugar
- ½ cup unsalted butter, softened
- 12 oz chocolate chips (milk or semi-sweet)
- 1 tbsp coconut oil or shortening (optional, for smoother chocolate)
Instructions
Prepare the Filling:
- In a large bowl, mix the crushed Butterfinger bars, peanut butter, powdered sugar, and softened butter until well combined.
- Roll the mixture into small bite-sized balls and place them on a parchment-lined baking sheet.
- Freeze for about 20-30 minutes until firm.
Melt the Chocolate:
- In a microwave-safe bowl, melt the chocolate chips in 30-second intervals, stirring after each until smooth. (You can add coconut oil or shortening for a glossier finish.)
Coat the Balls:
- Using a fork or toothpick, dip each ball into the melted chocolate, ensuring it is fully coated.
- Place back onto the parchment-lined baking sheet and allow the chocolate to set.
Set and Serve:
- Refrigerate for 15-20 minutes or until the chocolate hardens.
- Enjoy immediately or store in an airtight container in the fridge.
Notes
- You can use dark chocolate for a richer flavor.
- If the mixture is too sticky, chill it for a few minutes before rolling into balls.
- For extra crunch, add finely chopped Butterfinger pieces on top before the chocolate sets.
- Prep Time: 20 minutes
- Cook Time: 0 minutes
- Category: Dessert, Snack
- Method: No-Bake
- Cuisine: American
Nutrition
- Serving Size: 1 Butterfinger Ball
- Calories: ~120 kcal
- Sugar: 10g
- Sodium: 50mg
- Fat: 7g
- Saturated Fat: 4g
- Unsaturated Fat: 2g
- Trans Fat: 0g
- Carbohydrates: 12g
- Fiber: 1g
- Protein: 2g
- Cholesterol: 5mg
Keywords: Butterfinger, no-bake dessert, peanut butter balls, easy chocolate treats

