Buttermilk pancakes are the epitome of comfort food. With their light, fluffy texture and subtle tang from the buttermilk, they make a perfect start to any morning. Whether you’re preparing them for a leisurely breakfast on the weekend or a special family brunch, learning how to make the best buttermilk pancakes is a culinary skill everyone should master. In this guide, we’ll break down the recipe, offer tips and tricks, and share some fun variations to raise your pancake game.
Table of Contents
Key Ingredients for the Best Buttermilk Pancakes
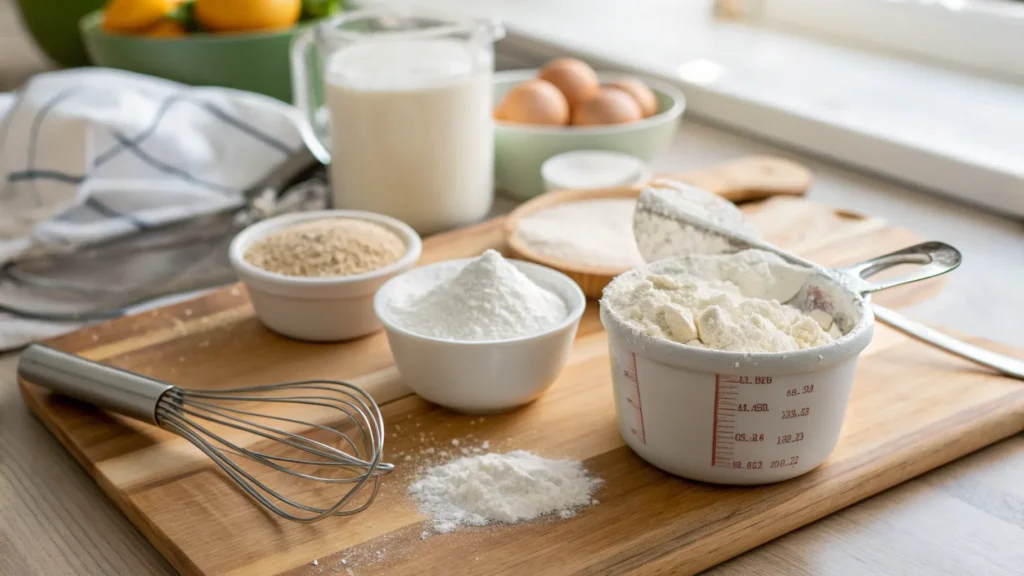
Before diving into the process, let’s take a moment to review the ingredients needed for these buttermilk pancakes. The key is to balance the dry and wet ingredients correctly to get that perfect fluffy texture. Here’s what you’ll need:
- 1 1/2 cups all-purpose flour – This will form the base of the pancake batter. All-purpose flour creates a light and airy pancake.
- 2 tablespoons sugar – Adds a subtle sweetness to the pancakes without overpowering the flavor.
- 1 teaspoon baking powder – This helps the pancakes rise and become fluffy.
- 1/2 teaspoon baking soda – Works in conjunction with the buttermilk to activate and give pancakes their lift.
- 1/2 teaspoon salt – add to the flavors and balances the sweetness.
- 1 1/2 cups buttermilk – The star ingredient, buttermilk adds a rich, tangy flavor that’s essential to traditional pancakes.
- 2 large eggs – These provide structure and richness.
- 4 tablespoons unsalted butter (melted) – Butter gives pancakes their soft texture and rich taste.
- 1 teaspoon vanilla extract – A splash of vanilla adds a comforting depth of flavor.
These ingredients combine to create a smooth, flavorful batter that cooks up into light, fluffy pancakes.
How to make the best buttermilk Pancake Batter
Making buttermilk pancakes may seem simple, but a few small tips can make all the difference in getting them just right. Follow these step-by-step instructions, and you’ll be well on your way to mastering the art of fluffy, golden pancakes.

Step 1: Prepare the Dry Ingredients
The first step in making your buttermilk pancakes is to combine all the dry ingredients in a large mixing bowl. Here’s how:
- Measure the flour carefully. Use a spoon to fluff the flour in the bag or container, then spoon it into your measuring cup and level it off with a knife. This helps to avoid overpacking the flour, which can lead to dense pancakes.
- Add the leavening agents. Whisk together baking powder and baking soda with the flour. These two ingredients work together to help the pancakes rise and become fluffy. The baking soda reacts with the acidity of the buttermilk, while the baking powder adds an extra lift.
- Include sugar and salt. Add sugar to give your pancakes a touch of sweetness, and salt to balance the flavors. Salt also brings out the natural sweetness in baked goods, so don’t skip this ingredient.
Pro Tip: Sifting the dry ingredients together before mixing can help prevent clumps in your batter, leading to a smoother texture and better overall rise. It’s an extra step that’s definitely worth the time.
Step 2: Whisk the Wet Ingredients

While the dry ingredients are being prepared, it’s time to focus on the wet ingredients. Here’s how to do it properly:
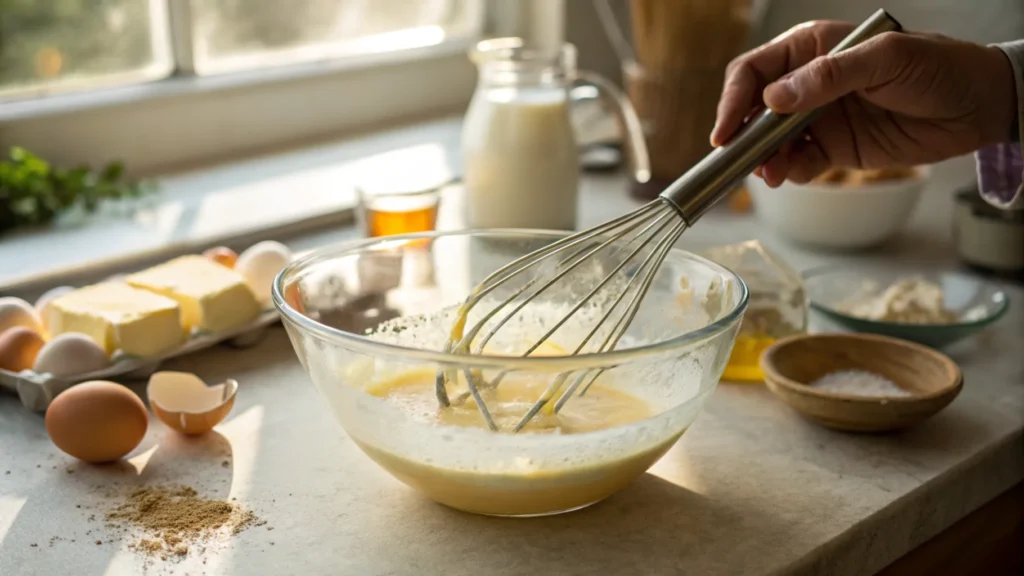
- Crack the eggs. In a separate bowl, crack two eggs. Beat them lightly with a fork or whisk until the yolks and whites are well combined. The eggs provide the structure and richness for the pancakes.
- Add the buttermilk. Pour 1 1/2 cups of buttermilk into the eggs. Buttermilk not only adds a tangy flavor but also helps create tender pancakes because of its acidity, which breaks down the gluten in the flour. If you don’t have buttermilk, you can substitute it with milk mixed with a tablespoon of vinegar or lemon juice, but the flavor won’t be exactly the same.
- Stir in the melted butter and vanilla. Add melted butter to the wet ingredients. The butter helps to make your pancakes moist and rich. It also prevents the pancakes from sticking to the pan. Add a teaspoon of vanilla extract to infuse the pancakes with a warm, comforting flavor.
Pro Tip: Let the melted butter cool slightly before mixing it with the eggs and buttermilk. Hot butter can cook the eggs, which will result in an undesirable texture in your pancakes.
Step 3: Combine the Wet and Dry Ingredients
Now comes the critical step where the magic happens – mixing the wet ingredients into the dry ingredients. This is where many home cooks can make mistakes, so let’s go over it carefully:
- Create a well in the dry ingredients. Use a spoon or whisk to make a well (or a small indentation) in the center of the dry ingredients. This will help prevent flour from flying around when you add the wet mixture.
- Pour the wet ingredients into the dry. Slowly pour the wet ingredients into the well you created. This helps distribute the liquid more evenly throughout the dry ingredients, preventing large clumps from forming.
- Mix gently and briefly. Stir the batter with a spoon or spatula, but don’t overdo it! You should only mix until the ingredients are just combined. It’s perfectly okay if the batter is a little lumpy. Overmixing develops the gluten in the flour, resulting in dense pancakes that lack that desired light and fluffy texture.
Pro Tip: If your batter looks too thick, add a little more buttermilk, one tablespoon at a time. On the other hand, if it seems too runny, sprinkle in a small amount of flour. You’re aiming for a thick yet pourable consistency that flows easily from the spoon but doesn’t run too fast off the edges.
Step 4: Let the Batter Rest
Once the batter is mixed, let it rest for 5-10 minutes. This resting period allows the flour to fully hydrate and the leavening agents to activate. The resting time also allows the gluten to relax, resulting in more tender pancakes.
While the batter rests, the consistency may change slightly. If it thickens too much, you can gently stir in a splash of milk to bring it back to the right thickness.
Pro Tip: Don’t skip the resting period! Even if you’re in a hurry, giving the batter a moment to sit will improve the texture of your pancakes. A good rest will help the pancakes puff up beautifully when cooked.
Step 5: Mastering the Cooking Technique for Perfect Pancakes
Once your batter has rested, it’s time to cook the pancakes. Here’s how to make sure they turn out perfect:
- Preheat your griddle or skillet. Heat a non-stick skillet or griddle over medium heat. If you’re using a cast-iron skillet, you may need to adjust the heat slightly lower to prevent burning.
- Grease the skillet lightly. Use a small amount of melted butter or cooking spray to grease the pan. Be sure to coat the surface evenly to avoid any sticking. You only need a light coating; too much grease can cause the pancakes to fry, rather than cook evenly.
- Test the heat. To check if your griddle is the right temperature, flick a drop of water onto the surface. If it sizzles and evaporates quickly, your pan is ready for the batter. If the water dances and evaporates immediately, the heat is too high. If the water just sits there, the griddle is too cold.
- Pour the batter onto the griddle. Use a ladle or measuring cup to pour about 1/4 cup of batter for each pancake onto the griddle. Space the pancakes about 2 inches apart to allow them to spread without running into each other.
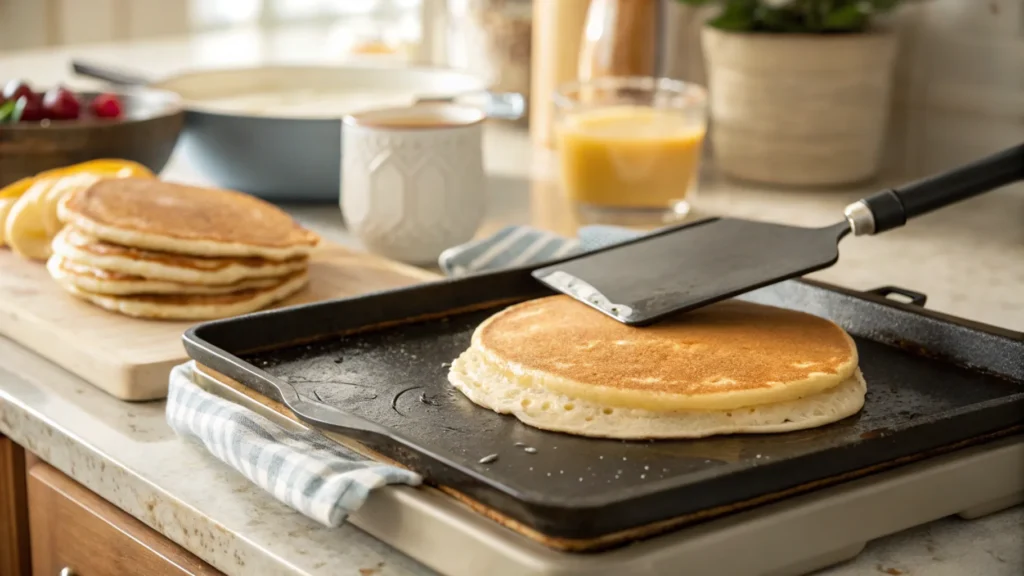
- Let the pancakes cook. Cook the pancakes for 2-3 minutes, or until you see small bubbles start to form on the surface. This is a good sign that the pancakes are cooking through and should be flipped. The edges will also begin to look slightly dry.
- Flip the pancakes. Once you see the bubbles and the edges are set, it’s time to flip. Use a spatula to gently lift the edge of the pancake and flip it over. Be quick, but gentle. Let the pancakes cook for another 1-2 minutes on the second side until golden brown. Both sides should have a perfect golden color with a slight crispness.
Pro Tip: If your pancakes are getting too dark too quickly, lower the heat slightly. Conversely, if they’re cooking too slowly, raise the heat a little.

Step 6: Keep Pancakes Warm
Once your pancakes are cooked, place them on a plate. To keep them warm while you finish cooking the rest, cover them with a clean kitchen towel, or place them in an oven set to 200°F (90°C). This helps keep the pancakes soft and warm without drying them out.
Pro Tip: If you’re making a large batch, you can keep them in a single layer on a baking sheet in the oven to avoid any condensation that could make the pancakes soggy.
Step 7: Serve and Enjoy
Once all the pancakes are cooked, it’s time to serve them up! Stack the pancakes neatly on a plate and serve with your favorite toppings. Here are some ideas to take your pancakes to the next level:
- Maple syrup: A classic topping that never goes out of style.
- Fresh fruit: Add some sliced bananas, strawberries, blueberries, or raspberries to bring a fresh, juicy burst of flavor.
- Whipped cream: For a rich and indulgent topping, a dollop of whipped cream adds sweetness and smooth texture.
- Butter: A pat of butter on top will melt into the pancakes, giving them a rich, satisfying finish.
- Chocolate chips or sprinkles: For a fun and sweet touch, top your pancakes with some mini chocolate chips or colorful sprinkles.
- Nuts: Add some crunch with a sprinkle of toasted pecans, walnuts, or almonds.
- Powdered sugar: A light dusting of powdered sugar adds a delicate sweetness.
Pro Tip: For the ultimate pancake experience, drizzle some warm syrup and top the pancakes with a generous scoop of whipped cream or a few pieces of crispy bacon on the side. The combination of sweet and savory will take your breakfast to a whole new level.
Tips for Mixing Wet and Dry Ingredients for Pancakes
Making perfect pancakes is as much about technique as it is about ingredients. Here are some key tips to make sure your pancakes are always fluffy, tender, and delicious.
1. Use Fresh Ingredients
Fresh baking powder and baking soda are essential for ensuring that your pancakes rise properly. If your leavening agents have been sitting around for too long, your pancakes may not be as fluffy. Check expiration dates and replace them as needed.
2. Don’t Overmix the Batter
The secret to light, fluffy pancakes lies in not overmixing the batter. Once you combine the wet and dry ingredients, mix until just combined. Overmixing activates the gluten in the flour, leading to dense and chewy pancakes.
3. Preheat Your Skillet or Griddle
Preheating your skillet or griddle make sure that your pancakes cook evenly and develop a nice golden-brown color. You can check if the griddle is hot enough by sprinkling a few drops of water on the surface – they should sizzle immediately.
4. Let the Batter Rest
After mixing the batter, let it rest for 5-10 minutes. This resting period allows the flour to fully hydrate, which leads to smoother batter and fluffier pancakes. The rest time also allows the baking powder and baking soda to activate properly.
5. Keep Pancakes Warm
If you’re making a large batch of pancakes, keep them warm in a low oven (around 200°F). You can also cover them loosely with aluminum foil to prevent them from drying out while you finish cooking the rest of the pancakes.
Variations of How to make the best buttermilk pancakes
Once you’ve perfected the classic buttermilk pancake, why not experiment with some fun variations? Here are some creative ideas to mix things up:
1. Blueberry Buttermilk Pancakes
Add 1/2 cup of fresh or frozen blueberries to the batter for a burst of natural sweetness. The berries will cook into the pancakes, releasing their juice and creating pockets of fruit throughout each bite.
Pro Tip: Toss the blueberries in a little bit of flour before adding them to the batter to help prevent them from sinking to the bottom.
2. Chocolate Chip Pancakes
For chocolate lovers, stir in 1/4 cup of mini chocolate chips into the batter. The chocolate melts as the pancakes cook, creating pockets of gooey goodness.
Pro Tip: If you like extra chocolate, sprinkle some additional chocolate chips on top of each pancake while it’s cooking on the griddle.
3. Banana Pancakes
For a healthier twist, add 1 ripe mashed banana to the batter. The banana gives the pancakes a natural sweetness and adds a lovely texture.
Pro Tip: Slice a banana and place the slices on top of the pancake as it cooks. This will give each pancake a caramelized banana topping.
4. Whole Wheat Buttermilk Pancakes
For a more nutritious version, replace the all-purpose flour with whole wheat flour. This gives the pancakes a slightly nutty flavor and adds fiber.
Pro Tip: You may need to increase the liquid by a tablespoon or two when using whole wheat flour to make sure the batter reaches the right consistency.
5. Cinnamon Spice Pancakes
Add a teaspoon of ground cinnamon or nutmeg to the dry ingredients to give your pancakes a warm, spiced flavor. This variation is perfect for fall mornings and pairs wonderfully with maple syrup.
Pro Tip: Top the pancakes with a sprinkle of cinnamon sugar for extra sweetness.
Ingredient Substitutes for Buttermilk Pancakes
If you’re missing a key ingredient or need to make substitutions due to dietary restrictions, don’t worry. Here are some easy substitutes for the classic buttermilk pancake ingredients:
| Ingredient | Original | Substitute | Notes |
|---|---|---|---|
| Buttermilk | 1 1/2 cups | Milk + 1 tablespoon white vinegar or lemon juice | Let it sit for 5 minutes to sour. |
| Eggs | 2 large eggs | 2 tablespoons flaxseed meal + 6 tablespoons water | Mix flaxseed meal and water and let sit for 5 minutes before using. |
| Butter | 4 tablespoons melted butter | Coconut oil or vegetable oil | Melted butter provides richness, but oils will work too. |
| Flour | All-purpose flour | Whole wheat flour or gluten-free flour | Use gluten-free flour for a gluten-free option. |
These substitutions make it easy to enjoy buttermilk pancakes even if you don’t have the exact ingredients on hand.
Final Thoughts: The Perfect Pancake Every Time
Making the best buttermilk pancakes is a simple process, but the results are always worth it. With just a few basic ingredients and some simple tips, you can create pancakes that are light, fluffy, and delicious every time. Experiment with variations, toppings, and even ingredient substitutions to make your pancakes truly unique. Whether you enjoy them with syrup, berries, or a dollop of whipped cream, there’s no wrong way to enjoy a perfectly made buttermilk pancake!
Frequently Asked Questions (FAQs)
- Can I make the pancake batter ahead of time? Yes, you can make the pancake batter ahead of time and store it in the fridge for up to 24 hours. Just give it a good stir before using.
- Can I freeze leftover pancakes? Absolutely! Let the pancakes cool, then place them in a single layer on a baking sheet in the freezer. Once frozen solid, transfer them to a freezer-safe bag for up to 2 months. Reheat in the toaster or microwave.
- Why are my pancakes flat and dense? This usually happens if the batter was overmixed, causing the gluten to develop. Make sure to gently stir the batter until just combined for light, fluffy pancakes.
- Can I use a non-dairy milk for buttermilk pancakes? Yes, you can substitute dairy milk with almond milk, oat milk, or soy milk. Just remember to add a tablespoon of lemon juice or vinegar to sour the milk.
- How do I prevent pancakes from sticking to the pan? Always preheat your pan and lightly grease it with butter or oil. Using a non-stick griddle can also help prevent sticking.

