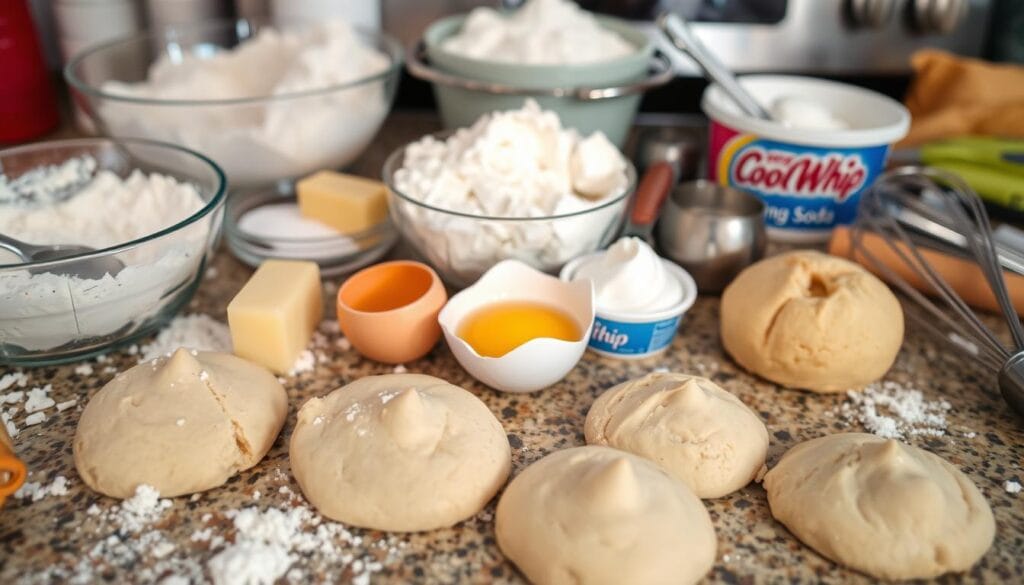
Flat Cool Whip cookies can be disappointing, but the good news is that this common baking issue is fixable. By understanding the causes of flat cookies—like improper ingredient ratios, mixing techniques, and oven temperature problems—you can learn how to fix flat Cool Whip cookies and bake soft, fluffy treats every time. Let’s explore the steps to perfect your baking!
Table of Contents
Key Takeaways
- Cool Whip temperature affects cookie structure
- Proper flour measurement is crucial for cookie shape
- Oven temperature plays a role in cookie spread
- Mixing techniques impact dough consistency
- Ingredient storage and preparation matter
- Altitude can affect cookie baking results
Understanding Why Cool Whip Cookies Turn Out Flat
Cool Whip cookies are a tasty treat that mixes whipped topping with sweet cookies. To make these cookies, knowing their unique qualities and how to get the right texture is key.
The Secret to Perfect Cool Whip Cookie Texture and Shape
The perfect Cool Whip cookie is soft in the middle and a bit crispy on the edges. Achieving this balance comes from the right mix of ingredients and how you mix them. A great Cool Whip cookie feels like it melts in your mouth, unlike other cookies.
Ideal Cookie Texture and Appearance
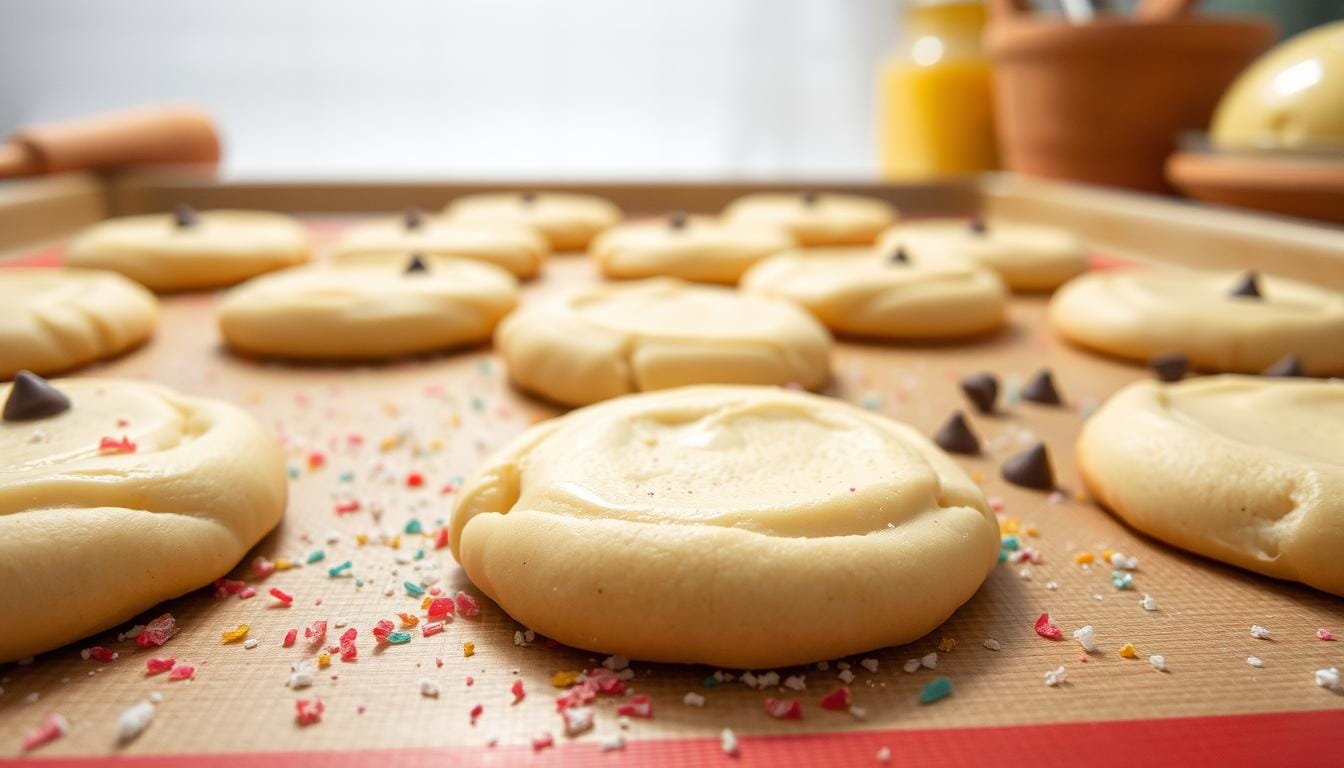
Cool Whip cookies should be light and airy, with a slight crinkle on top. They don’t spread much, keeping their shape. The top should look smooth and shiny, showing the perfect mix of Cool Whip and dry ingredients.
The Role of Cool Whip in Cookie Structure
Cool Whip is vital for these cookies. It makes the dough moist and airy, giving the cookies a soft, fluffy feel. It also helps the cookies keep their shape while baking. Knowing this helps solve texture issues.
| Ingredient | Function | Impact on Texture |
|---|---|---|
| Cool Whip | Moisturizer and Aerator | Soft, fluffy texture |
| Flour | Structure Provider | Cookie shape and stability |
| Sugar | Sweetener and Tenderizer | Crispness and spread control |
Understanding these basics helps you improve your baking. It also helps avoid texture problems in your cool whip cookies.
Why Did My Cool Whip Cookies Turn Out Flat?
Flat cookies can be a letdown when you’re hoping for something fluffy and tasty. If your Cool Whip cookies came out flat, there are a few reasons why. Let’s look at the common causes of this problem.
How you mix your ingredients is key to cookie texture. Too much butter or sugar can make cookies spread too much, leading to flatness. It’s important to get the right mix of Cool Whip and other ingredients for the perfect texture.
The temperature of your oven is also important. If your oven is too hot, cookies spread too fast before they can set. If it’s too cold, they won’t rise right. Using an oven thermometer can help you get the temperature just right.
How you mix the dough is crucial too. Overmixing can add too much air, causing cookies to fall flat. Here are some tips to help:
- Cream butter and sugar just until combined
- Fold in Cool Whip gently
- Mix dry ingredients separately before adding to wet mixture
By mastering these techniques, you’ll make better Cool Whip cookies. Remember, it takes practice to get it right. So, don’t worry if your first batch doesn’t turn out perfectly.
Common Baking Problems: Why Your Cool Whip Cookies Fall Flat
When baking cookies, especially Cool Whip cookies, getting the ingredients right is crucial. This ensures the perfect shape and texture. Let’s look at some common mistakes that can lead to flat cookies and how to avoid them.

How Oven Temperature Affects Cool Whip Cookies
The temperature of Cool Whip is very important for cookie dough consistency. If it’s too warm, your cookies may spread too much during baking. Always use Cool Whip straight from the refrigerator for the best results.
Wrong Flour Measurements
Accurate flour measurement is key to successful cookie baking. Too little flour can make cookies flat and spread out. Use a kitchen scale or the spoon-and-level method for precise measurements.
Sugar Balance Issues
The right sugar balance is crucial for proper cookie structure. Too much sugar can make cookies spread and become overly crisp. Follow the recipe closely and avoid adding extra sugar for sweetness.
| Ingredient | Common Mistake | Effect on Cookies | Solution |
|---|---|---|---|
| Cool Whip | Using at room temperature | Excessive spreading | Use straight from fridge |
| Flour | Inaccurate measurement | Flat, thin cookies | Use a kitchen scale |
| Sugar | Adding too much | Overly crisp, spread-out cookies | Follow recipe exactly |
By avoiding these common ingredient mistakes, you’ll be well on your way to baking perfect Cool Whip cookies. Remember, troubleshooting baking issues often starts with double-checking your ingredients and measurements.
Temperature Tips for Baking Cool Whip Cookies
Getting the oven temperature right is key for perfect cookies. Make sure your oven is preheated well before baking. This ensures your cookies bake evenly from the start. Always preheat to the temperature called for in your recipe before adding your cookie sheets.
Not all cookies need the same temperature. For example, meringues bake best at lower heat. But oatmeal cookies can handle higher temperatures. Here’s a quick guide to help you:
- Thin, crispy cookies: 350°F to 375°F
- Thick, chewy cookies: 325°F to 350°F
- Shortbread or sugar cookies: 300°F to 325°F
Using an oven thermometer is a great baking tip. It ensures your oven’s temperature is accurate. If your oven’s temperature is off, your cookies might turn out wrong.
Adjusting baking times is another important technique. If your cookies spread too much, try baking them at a higher temperature. This helps set the edges faster, preventing them from spreading too much.
“The key to perfect cookies lies in understanding your oven and making small adjustments as needed.”
Every oven is different. Pay attention to how your cookies turn out. Take notes for future reference. With practice, you’ll get the hang of baking cookies to perfection!
Proper Mixing Techniques for Cool Whip Cookie Dough
Mastering cookie baking techniques is key to achieving perfect Cool Whip cookies. Let’s explore the crucial steps in mixing your ingredients for the best results.
Combining Wet and Dry Ingredients
Start by mixing your dry ingredients separately from wet ones. Gradually add the dry mix to your Cool Whip mixture, folding gently. This method ensures even distribution and prevents overmixing, which can lead to tough cookies.
Optimal Mixing Time
Mix only until the ingredients are just combined. Overmixing can activate too much gluten, resulting in flat cookies. A good rule of thumb is to stop mixing as soon as you no longer see streaks of flour in your dough.
Dough Consistency Indicators
The right cookie dough consistency is crucial for perfect cookies. Your Cool Whip cookie dough should be slightly sticky but hold its shape when scooped. If it’s too runny, add a bit more flour. If it’s too stiff, incorporate a small amount of Cool Whip.
- Dough should be soft and pliable
- It should not stick excessively to your hands
- When scooped, it should hold a rounded shape
Remember, these baking tips will help you achieve the ideal texture and taste in your Cool Whip cookies. Practice and patience are key to perfecting your cookie baking techniques.
How to Use the Right Baking Surface for Cool Whip Cookies
Your choice of cookie sheet and baking surface is key when baking cookies. It affects the final shape and texture of your treats. Choosing the right equipment helps solve baking issues and improve your techniques.

Dark-colored baking sheets absorb more heat, which can make cookies spread too fast and become flat. Light-colored, aluminum sheets distribute heat evenly. Non-stick surfaces can stop cookies from browning properly. Use parchment paper or silicone mats instead.
The thickness of your baking sheet is also important. Thin sheets can warp in high oven temperatures, causing cookies to bake unevenly. Choose sturdy, commercial-grade baking sheets for the best results.
“The right baking surface can make or break your cookie baking experience.”
Here are some tips for perfectly shaped cookies:
- Line your baking sheet with parchment paper or a silicone mat for easy release and consistent results.
- Avoid overcrowding the sheet, giving cookies ample space to spread.
- Rotate the baking sheet halfway through cooking for even browning.
- Cool your baking sheet between batches to prevent premature spreading.
By focusing on your baking surface, you’ll improve your cookie baking skills. You’ll also overcome common challenges.
Ingredient Storage and Preparation for Cool Whip Cookies
Proper storage and preparation of ingredients are key for making great cool whip cookies. Here are some tips to keep your ingredients ready for your next baking session.
Quick Tips for Ingredient Storage
Butter and Eggs: Bring to room temperature for easy mixing
Cool Whip: Store in the freezer; thaw in the fridge.
Flour: Use an airtight container in a cool, dry place.
Room Temperature Ingredients
Using ingredients at room temperature is crucial for the right cookie texture. Take out the butter, eggs, and other chilled items about an hour before baking. This ensures they mix well and helps avoid baking problems.
| Ingredient | Storage Method | Preparation |
|---|---|---|
| Cool Whip | Freezer | Thaw in refrigerator for 4 hours |
| Flour | Airtight container, cool and dry | Spoon and level when measuring |
| Butter | Refrigerator | Bring to room temperature 1 hour before use |
| Eggs | Refrigerator | Bring to room temperature 1 hour before use |
By following these guidelines, you’ll be on your way to baking perfect cool whip cookies every time.
Adjusting Recipe for Different Altitudes
Baking at high altitudes can be tricky, especially with Cool Whip cookies. The lower air pressure changes how your cookies rise and spread. But don’t worry! With a few tips, you can master baking at any elevation.
For every 1,000 feet above sea level, make these adjustments to your Cool Whip cookie recipe:
- Reduce sugar by 1-2 tablespoons
- Increase flour by 1-2 tablespoons
- Add 1-2 tablespoons of liquid (milk or water)
- Raise oven temperature by 25°F
These changes help counter the effects of low air pressure on your cookies. By reducing sugar and increasing flour, you prevent excessive spreading. Extra liquid compensates for faster evaporation at high altitudes.
| Altitude (feet) | Sugar Reduction | Flour Increase | Liquid Addition | Temperature Increase |
|---|---|---|---|---|
| 3,000-5,000 | 1 tbsp | 1 tbsp | 1 tbsp | 25°F |
| 5,000-7,000 | 2 tbsp | 2 tbsp | 2 tbsp | 50°F |
| Above 7,000 | 3 tbsp | 3 tbsp | 3-4 tbsp | 75°F |
Remember, troubleshooting baking issues at high altitudes may require some experimentation. Start with these guidelines and adjust as needed for perfect Cool Whip cookies at any elevation.
Troubleshooting Common Cool Whip Cookie Problems
Wondering why your Cool Whip cookies turned out flat? You’re not alone. Cookie texture problems can be frustrating, but there are solutions. Let’s explore some common issues and how to fix them.
Spreading Issues During Baking
Cookies that spread too much during baking can result in flat, thin treats. To prevent this, chill your dough before baking. This helps maintain the cookie’s shape as it heats up. You can also try using a cooler baking sheet to slow down the spread.
Texture Inconsistencies
Texture problems often stem from ingredient ratios. If your cookies are too crispy or too soft, adjust your Cool Whip or flour amounts. Remember, room temperature ingredients mix better, creating a more consistent texture throughout your batch.
Color and Doneness Problems
Troubleshooting baking issues often involves oven temperature. If your cookies are pale or underdone, your oven might be too cool. Conversely, dark or overdone cookies could mean it’s too hot. Use an oven thermometer for accuracy and adjust baking time as needed.
Conclusion
Baking the perfect Cool Whip cookies takes precision and practice. By addressing common issues like dough consistency, ingredient preparation, and oven temperature, you can consistently achieve fluffy, delicious cookies. Remember, baking is both a science and an art—keep experimenting, and you’ll master the technique in no time!
FAQ
1. Why do my Cool Whip cookies spread too much?
Cookies often spread too much if the dough is too warm. Chill the dough for at least 30 minutes before baking, and always use cold Cool Whip from the fridge.
2. Can I use any whipped topping instead of Cool Whip?
Cool Whip is preferred because of its consistency and structure. Other whipped toppings may lead to inconsistent results.
3. How can I make my cookies fluffier?
Ensure accurate flour measurements, avoid overmixing, and bake at the correct temperature. Chilling the dough also helps create fluffier cookies.
4. Why are my cookies too dry?
Dry cookies often result from too much flour or overbaking. Use a kitchen scale for precise measurements and monitor your baking time closely.
5. How do I know if my oven temperature is accurate?
Invest in an oven thermometer to check and calibrate your oven’s temperature. Many ovens run hotter or cooler than their settings.
By following these tips and troubleshooting methods, you’ll be well on your way to creating perfect Cool Whip cookies every time!

