Making a cheesecake can be an intricate process, and while the recipe may seem straightforward, achieving the perfect texture and consistency often requires special techniques. One of the most effective techniques used to ensure a cheesecake’s success is the water bath, or bain-marie. But exactly Why Do You Put a Water Bath in a Cheesecake? Is it really necessary, or can you skip this step and still get a perfect cheesecake? In this article, we’ll explore the reasons why a water bath is essential, the science behind it, and how it helps create the perfectBath Cheesecake?.
Table of Contents
What is a Water Bath? Why Do You Put a Water Bath in a Cheesecake & How to Use It for Perfect Results
Before we dive into the reasons, let’s first understand what a water bath is. A water bath is a baking technique where you place the cheesecake pan in a larger pan filled with hot water. The water surrounds the cheesecake while it bakes, providing gentle, consistent heat. This technique is often used when baking delicate items like Bath Cheesecake?, custards, or flans.
In this method, the water acts as a barrier between the cheesecake and the direct heat of the oven. It prevents the cheesecake from drying out, cracking, or becoming overcooked on the edges while the center remains undercooked.

Why Do You Put a Water Bath in a Cheesecake?
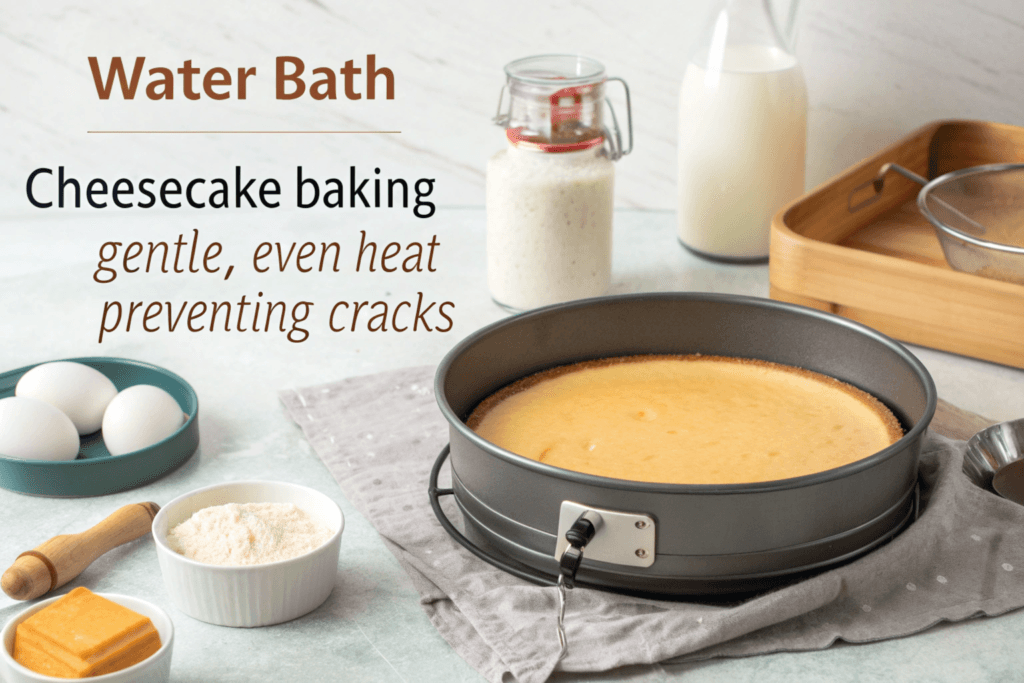
Using a water bath when baking a cheesecake is a crucial technique that helps achieve a smooth, creamy, and crack-free dessert. But why do you put a water bath in a cheesecake? The answer lies in the way cheesecakes bake—because they are custard-based, they require gentle and even heat to maintain their delicate texture. A water bath, also known as a bain-marie, creates the perfect environment for baking by controlling the temperature and adding moisture to the oven. Below are the key benefits of using a water bath for cheesecake and how it enhances the final result.
1. Prevents Cracking: Why Do You Put a Water Bath in a Cheesecake?
One of the main reasons why you put a water bath in a cheesecake is to prevent cracks from forming on its surface. Cheesecakes are fragile, and the baking process can cause the outer layers to cook faster than the center. This uneven baking leads to cracks as the cheesecake cools.
A water bath surrounds the cheesecake with steam and gentle heat, which evenly distributes the temperature and prevents the edges from drying out too quickly. The result? A flawlessly smooth cheesecake with no unsightly cracks.
2. Ensures Even Baking: Why Do You Put a Water Bath in a Cheesecake? for Perfectly Uniform Cooking.
Without a water bath, the direct heat from the oven can cause the cheesecake to bake unevenly, with the edges setting before the center is fully cooked. Since cheesecakes require slow and gentle heat, using a water bath helps insulate the pan and ensures the entire cheesecake bakes at the same rate.
By preventing hot spots and maintaining a consistent temperature, a water bath helps create a uniform texture, ensuring that every bite of the cheesecake is creamy and perfectly set from edge to center.
3. Prevents Overheating: Why Do You Put a Water Bath in a Cheesecake? to Protect It from High Temperatures
A common mistake when baking cheesecakes is exposing them to high temperatures without a water bath, which can cause the outer layer to become dry and rubbery while the inside remains undercooked. This temperature imbalance results in an inconsistent texture.
The water bath acts as a buffer, ensuring that the cheesecake bakes at a stable, controlled temperature. The moisture in the oven prevents the cheesecake from becoming too hot too quickly, reducing the risk of overheating and keeping the texture silky and smooth.
4. Maintains the Cheesecake’s Moisture: Why Do You Put a Water Bath in a Cheesecake? for a Creamy Texture.
Moisture is essential for creating a rich, creamy cheesecake, and a water bath helps maintain this balance throughout the baking process. The steam created by the water bath adds humidity to the oven, preventing the cheesecake from drying out.
This is especially important for dense cheesecake varieties like New York-style cheesecake, which require slow and even baking to maintain their velvety texture. By using a water bath, you lock in moisture, preventing cracks and keeping the cheesecake luscious and smooth.
5. Prevents Overcooking the Edges: Why Do You Put a Water Bath in a Cheesecake? for Even Doneness.
If you’ve ever baked a cheesecake without a water bath, you may have noticed that the edges can become overcooked and firm, while the center stays too soft. This happens because direct oven heat cooks the outer layers too quickly, leading to an uneven texture.
A water bath ensures that the heat is distributed evenly, allowing the entire cheesecake to bake at the same pace. This results in a dessert that is consistent in texture, with no tough edges or undercooked centers.
6. Improves Texture and Consistency: Why Do You Put a Water Bath in a Cheesecake? for Bakery-Quality Results.
One of the biggest reasons why you put a water bath in a cheesecake is to achieve that signature silky, creamy texture. Cheesecakes baked without a water bath often turn out dense and dry, while those baked with a water bath have a light, smooth, and luxurious consistency.
The slow, gentle baking process provided by a water bath allows the cheesecake to set properly without becoming overly firm or rubbery. This ensures that every bite is rich, velvety, and melt-in-your-mouth delicious.
Why Do You Put a Water Bath in a Cheesecake? How to Use It for Perfect Results.
Now that we’ve answered the question, “Why do you put a water bath in a cheesecake?”, let’s go through the step-by-step process of using a water bath to bake a flawless cheesecake. A properly executed water bath, also known as a bain-marie, ensures even baking, prevents cracks, and keeps the cheesecake perfectly moist. Follow these steps for perfect results every time.

Step 1: Prepare Your Cheesecake Pan
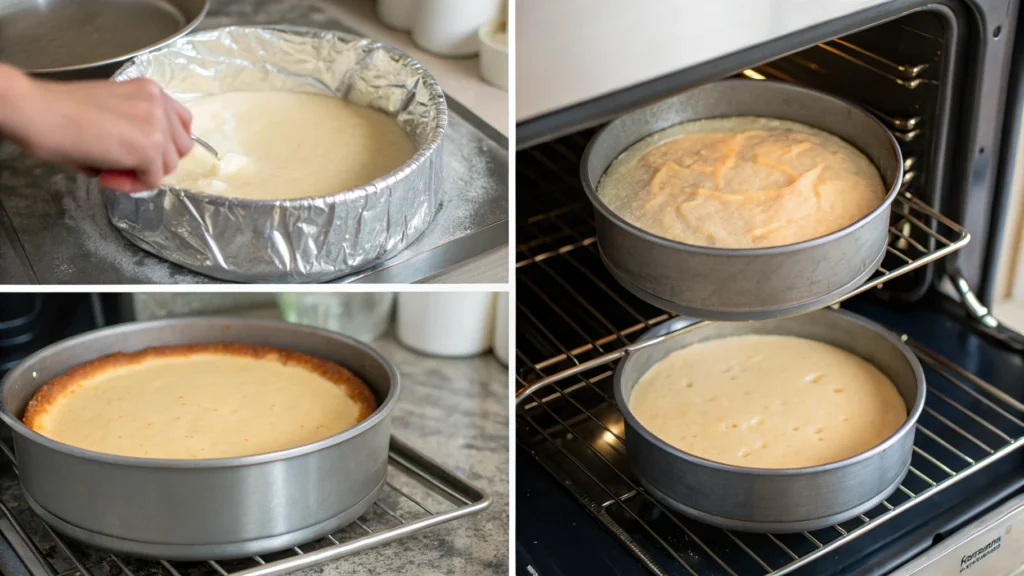
Before assembling your water bath, it’s essential to properly prepare your cheesecake pan to prevent leaks. Since most cheesecakes are baked in a springform pan, water can easily seep into the pan and ruin your dessert.
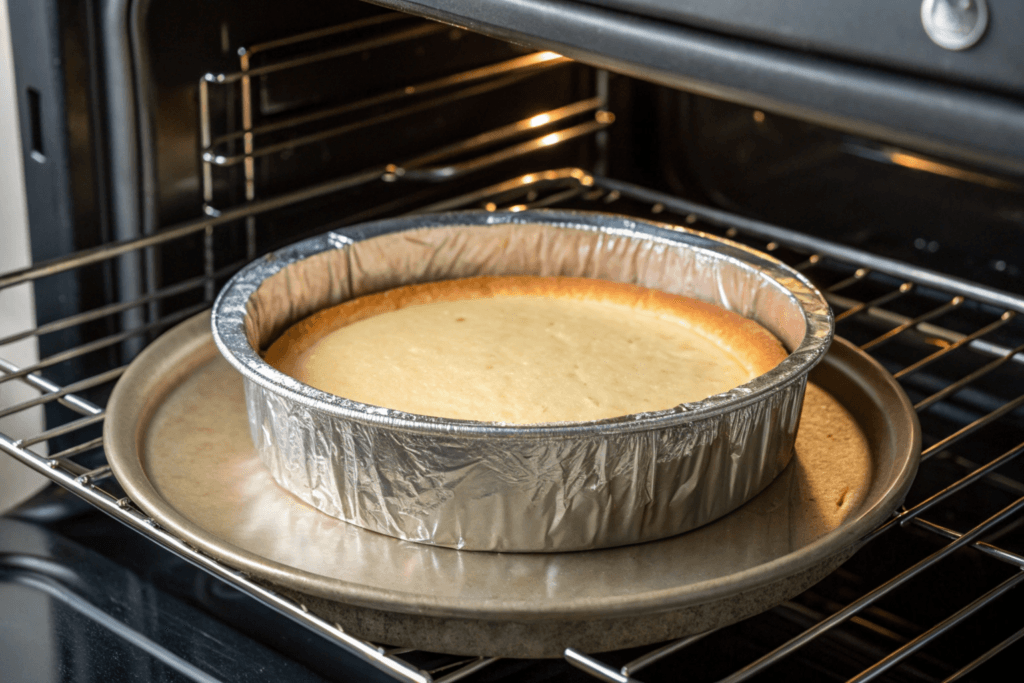
- Wrap the bottom and sides of your springform pan tightly with heavy-duty aluminum foil.
- Ensure that the foil extends up the sides of the pan and is completely sealed to prevent water from getting inside.
- For extra protection, you can place the foil-wrapped pan into an oven-safe silicone baking bag or double-wrap it with a second layer of foil.
Step 2: Preheat the Oven
Preheat your oven to the temperature specified in your cheesecake recipe. Most cheesecakes bake at a low temperature, typically between 300°F and 325°F, to ensure even cooking and to prevent the filling from overcooking.
If your oven has hot spots, consider using an oven thermometer to maintain an accurate temperature, as consistent heat is key to a perfect cheesecake.
Step 3: Prepare the Water Bath
A water bath works by surrounding the cheesecake with gentle, moist heat, preventing the edges from baking too quickly.
- Place a large, deep roasting pan or baking dish on the center rack of your oven.
- Once your oven is preheated, boil some water separately. The water should be hot but not boiling to prevent temperature fluctuations.
- Carefully pour the hot water into the roasting pan, filling it about halfway up the sides of the pan. This will create a steamy baking environment that helps the cheesecake bake evenly.
Step 4: Place the Cheesecake in the Water Bath
Now that your water bath is ready, it’s time to carefully place the cheesecake pan into the water-filled roasting pan.
- The water should reach about halfway up the sides of the cheesecake pan but should never go over the top.
- Be cautious when transferring the pan into the oven to avoid splashing water into the cheesecake.
- If you’re worried about handling a water-filled pan, you can place the cheesecake inside the roasting pan before adding the hot water to minimize spills.
Step 5: Bake the Cheesecake
Bake the cheesecake according to your recipe’s instructions. The water bath will help maintain a consistent temperature and prevent overcooking.
- Keep an eye on the water level throughout baking. If it starts to evaporate, carefully add more hot water to the roasting pan.
- The cheesecake is done when the edges are set, but the center should still have a slight jiggle when gently shaken. Overbaking can cause the cheesecake to become dry and crack.
Step 6: Let the Cheesecake Cool
Proper cooling is just as important as baking when it comes to achieving the perfect cheesecake texture.
- Once the cheesecake is fully baked, remove it carefully from the water bath and place it on a wire rack to cool at room temperature.
- Avoid removing the cheesecake from the pan immediately—it is still delicate and needs time to set properly.
- Once the cheesecake has cooled to room temperature, transfer it to the refrigerator and let it chill for at least 4 hours or overnight before serving.
Alternatives to a Water Bath
While a water bath is an excellent method for baking cheesecakes, there are alternatives if you don’t want to deal with the extra step of setting one up. Some bakers opt for the following methods:
Oven Temperature Control
By lowering the oven temperature and baking the cheesecake on the lowest rack, you can minimize the risk of the cheesecake cooking unevenly or cracking. However, this method may not guarantee the same level of moisture retention and smoothness that a water bath provides.
Using a Silicone Pan
Some bakers prefer using silicone pans for cheesecakes because they distribute heat more evenly. Silicone pans are less prone to developing hot spots, making them a good alternative to using a water bath.
Common Issues When Using a Water Bath
While water baths are highly effective, there are some common problems that can arise during the baking process:
Water Leaks into the Pan
If your foil is not sealed properly, water may leak into the pan, affecting the cheesecake’s texture. Make sure to wrap the foil tightly around the bottom of the pan and double-check for any gaps.
Overfilling the Water Bath
If you add too much water, it could spill into the cheesecake pan, causing the cheesecake to become too soggy. Fill the water bath carefully, ensuring the water level comes up around the sides of the cheesecake pan but does not reach the top of the pan.
Water Evaporating
During the baking process, the water in the bath may evaporate. To prevent this, check the water level halfway through the baking time and add more hot water if necessary.

Conclusion: For Why Do You Put a Water Bath in a Cheesecake
The use of a water bath in cheesecake baking is not just an extra step—it’s a key technique that makes the difference between an average cheesecake and a perfectly smooth, creamy, and crack-free dessert. If you’ve ever wondered, “Why do you put a water bath in a cheesecake?”, the answer is simple: it regulates heat, prevents overbaking, maintains moisture, and ensures an even texture throughout the cheesecake.
By understanding both the importance and the correct method of using a water bath, you can elevate your baking skills and achieve a professional-quality cheesecake right in your kitchen. Whether you’re preparing a classic New York-style cheesecake, a velvety chocolate cheesecake, or a fruity variation, this time-tested technique will enhance the texture and flavor of your dessert.
Skipping the water bath might seem tempting, but it often leads to cracks, dryness, or uneven baking, which can take away from the indulgent, creamy experience that makes cheesecakes so special. Instead, take the extra step and use a water bath—your cheesecake will thank you for it!
So, the next time you’re preparing a cheesecake, remember why you put a water bath in a cheesecake and follow the proper steps to create a show-stopping dessert that’s as delicious as it is beautiful. With this technique in your baking arsenal, you’ll be able to enjoy rich, luscious cheesecakes with a flawless texture—every single time.
FAQs About : Why Do You Put a Water Bath in a Cheesecake?
- Can I bake a cheesecake without a water bath? Yes, but a water bath helps to achieve a smoother texture and prevents cracking. If you choose not to use one, lower the oven temperature and keep an eye on the cheesecake.
- What if water leaks into the cheesecake pan? Wrap the bottom of the pan tightly in heavy-duty foil to prevent water from leaking in.
- Can I use a regular baking dish for a water bath? Yes, you can use any large, deep pan that fits comfortably around the cheesecake pan.
- How do I prevent the water bath from evaporating? Check the water level halfway through the baking process and add more hot water if necessary.
- Is it necessary to chill the cheesecake after baking? Yes, it’s important to allow the cheesecake to cool at room temperature and then chill it in the refrigerator for several hours before serving.

