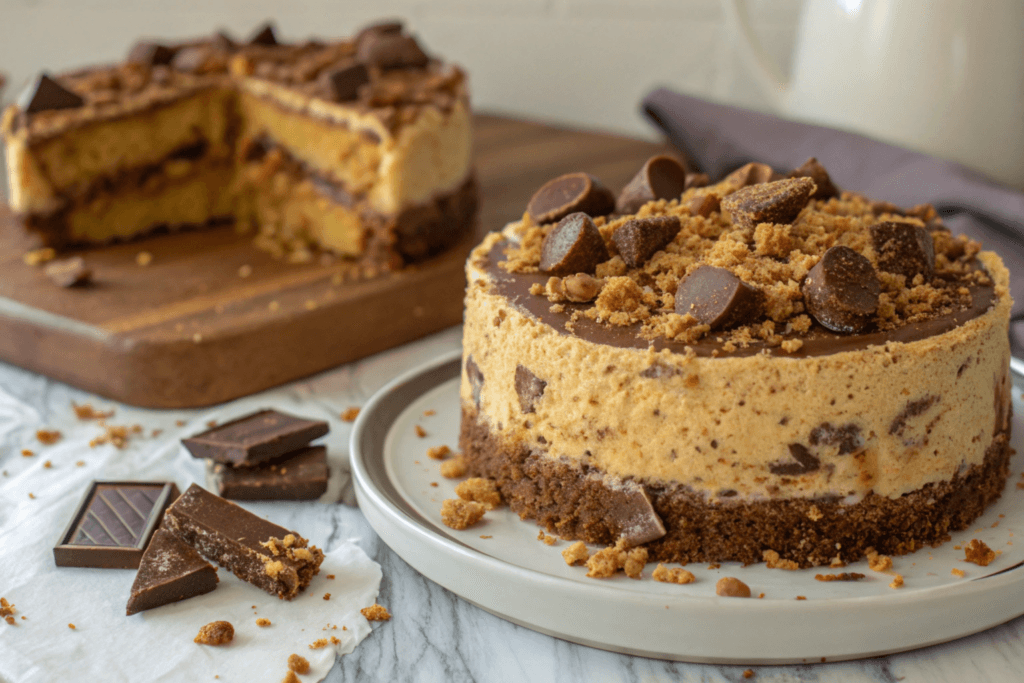
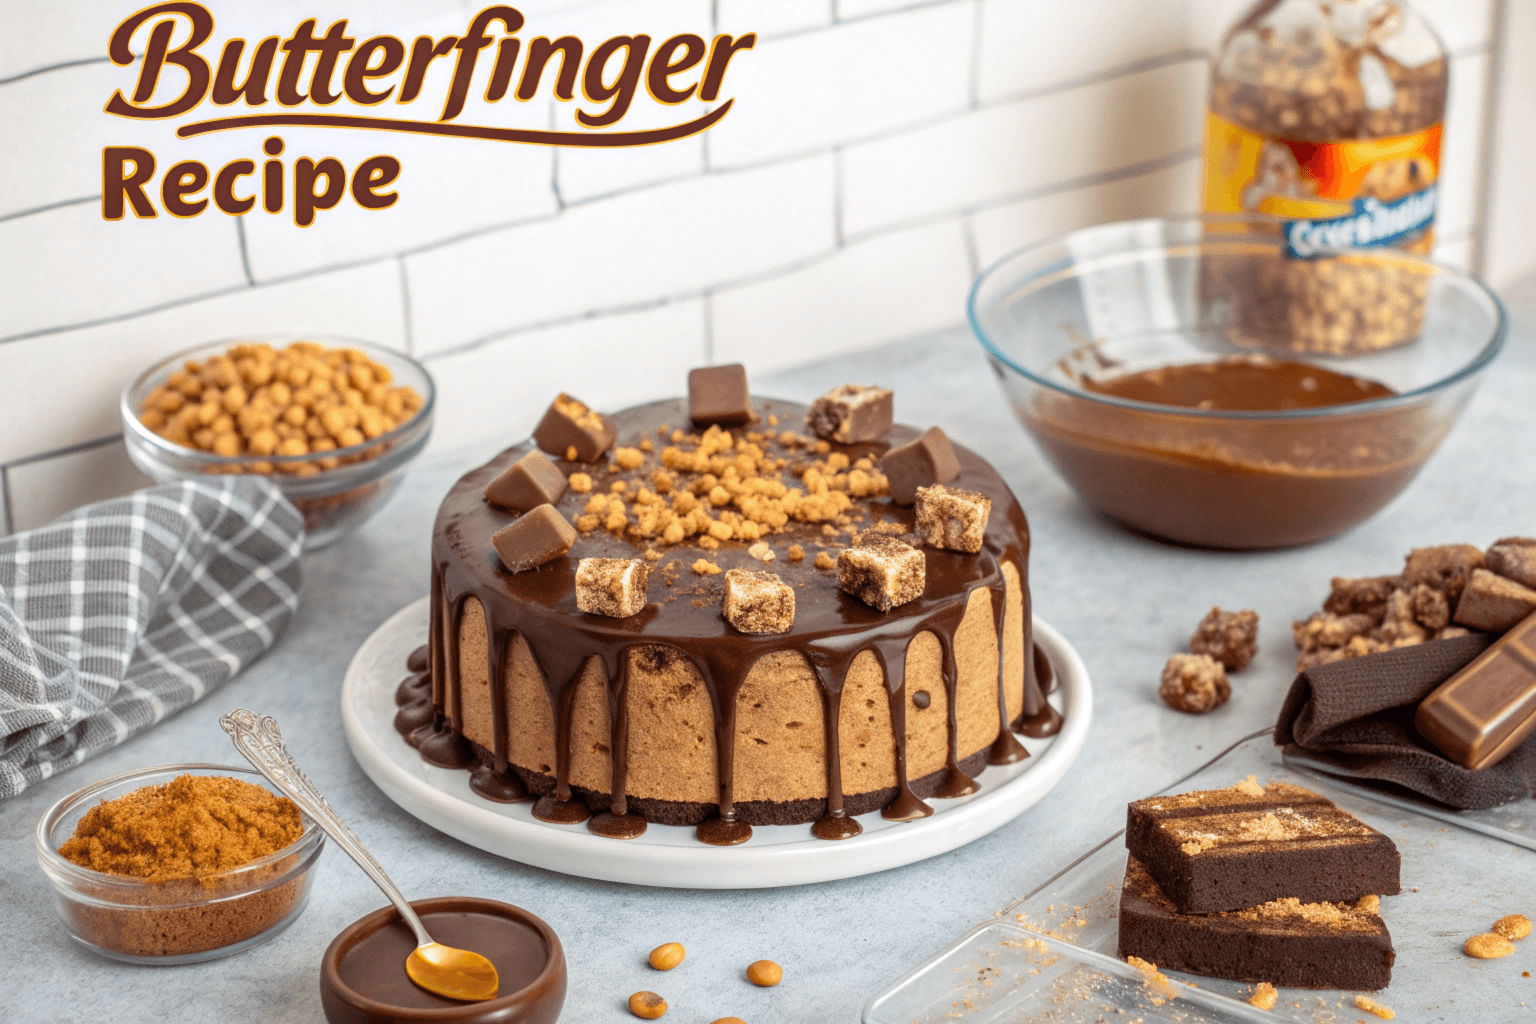
What is Butterfinger Cake?
This Butterfinger Cake recipe brings together everything you love about dessert—moist chocolate cake, creamy caramel, and the signature crunch of Butterfinger candies. It’s a rich, layered treat that’s perfect for any occasion, whether it’s a birthday party, holiday gathering, or just a cozy night in. Not only is this dessert easy to make, but it’s also guaranteed to impress anyone who takes a bite. If you’re looking for a show-stopping cake, Butterfinger Cake is the ultimate choice.

Why Is Butterfinger Cake a Crowd Favorite?
Butterfinger Cake is a hit for several reasons. First, it perfectly balances textures and flavors. The soft chocolate cake pairs beautifully with the creamy whipped topping, while the crushed Butterfinger candies add a delightful crunch. Every bite, therefore, offers something exciting and memorable.
Moreover, this recipe is incredibly versatile. You can adjust it to suit your preferences. For instance, you can opt for a denser cake or use a lighter whipped topping. In addition, the recipe uses basic ingredients and tools that most home bakers already have on hand.
If you’re looking for a dessert that’s both easy to make and guaranteed to impress, Butterfinger Cake is the perfect choice.
Essential Ingredients for Butterfinger Cake
Cake Base Ingredients
To create the base for your Butterfinger Cake, you will need:
- Chocolate Cake Mix: A rich chocolate mix, such as devil’s food, works best.
- Eggs, Oil, and Water: These are essential for preparing the cake mix according to the package instructions.
- Sweetened Condensed Milk: This ingredient keeps the cake moist and adds sweetness.
- Caramel Sauce: It brings a buttery, rich flavor that pairs perfectly with chocolate.
Toppings and Flavor Boosters
The toppings raise this dessert from simple to sensational:
- Crushed Butterfinger Candies: The star ingredient adds crunch and flavor.
- Whipped Topping (Cool Whip): A light and airy layer that balances the rich cake.
- Chocolate Syrup (Optional): Great for drizzling and enhancing presentation.
Tools You’ll Need
Before you start, gather these tools to make the process Floyd:
- Mixing Bowls: For preparing the cake batter and toppings.
- Hand Mixer or Whisk: make sure a smooth, lump-free batter.
- Baking Pan (9×13 inches): Perfect for creating a sheet cake.
- Spatula: Helps you spread layers evenly.
- Fork: Used to poke holes in the cake for better absorption of toppings.
- Rolling Pin or Food Processor: Crushes the Butterfinger candies to the desired consistency.
Step-by-Step Instructions

1. Preparing the Cake Base
Start by preheating your oven to 350°F (175°C). Then, grease your baking pan to prevent sticking.
- In a mixing bowl, prepare the chocolate cake batter according to the package instructions. Combine the eggs, oil, and water thoroughly.
- Afterward, pour the batter into the greased baking pan, spreading it evenly to make sure it bakes consistently.
- Bake the cake for 25–30 minutes or until a toothpick inserted into the center comes out clean.
- Once baked, remove the cake from the oven and allow it to cool slightly.
2. Adding the Creamy Topping
To create the creamy topping:
- While the cake is still warm, use a fork to poke holes evenly across its surface.
- Next, pour sweetened condensed milk over the cake, letting it seep into the holes. This step make sure the cake stays moist and flavorful.
- Drizzle caramel sauce generously over the top, spreading it evenly with a spatula.
3. Adding Butterfinger Candy Crunch
Now, prepare the topping:
- Crush the Butterfinger candies using a rolling pin or food processor. Be sure to aim for a mix of fine and small chunks for varied texture.
- Sprinkle half of the crushed candies over the caramel-drizzled cake, creating an even layer.
4. Layering and Final Assembly
- Spread a thick layer of whipped topping across the entire cake, covering it completely.
- Sprinkle the remaining Butterfinger pieces over the whipped topping.
- Finally, for an extra touch, drizzle chocolate syrup over the top in a zig-zag or spiral pattern.
5. Chill and Serve
To add the flavors:
- Refrigerate the cake for at least 2 hours. This allows the flavors to meld together beautifully.
- Serve the cake chilled for the best taste and texture.
Tips and Tricks for the Perfect Butterfinger Cake
Common Mistakes and How to Avoid Them
- Overbaking the Cake: Check the cake early to prevent it from drying out.
- Uneven Layers: Spread the toppings carefully to make sure every bite has balanced flavors.
- Candy Pieces Too Large: Crush the Butterfinger candies into smaller pieces for better integration.
Storing the Cake
Proper storage make sure your cake stays fresh:
- Store leftovers in an airtight container in the refrigerator for up to 5 days.
- To freeze, wrap individual slices in plastic wrap and place them in a freezer-safe container for up to 3 months.
Variations of Butterfinger Cake
Gluten-Free Version
Replace the standard cake mix with a gluten-free option. make sure all other ingredients are gluten-free as well.
Healthier Butterfinger Cake
Use light whipped topping, sugar-free caramel sauce, or reduced-fat ingredients for a lighter version of this dessert.
Mini Butterfinger Cupcakes
Create individual servings by using a cupcake pan. Follow the same steps for layering, but adjust the baking time to suit the smaller portions.
Serving Suggestions
Occasions Perfect for Butterfinger Cake
This cake shines at:
- Birthday Parties
- Family Gatherings
- Holiday Celebrations
- Casual Potlucks
Best Drinks to Pair With Butterfinger Cake
add to your dessert experience by pairing the cake with:
- A glass of cold milk
- Hot coffee or espresso
- Dessert wines such as port or sherry
Conclusion
The Butterfinger Cake recipe is more than just a dessert—it’s a showstopper. With its moist chocolate cake, creamy caramel, and crunchy Butterfinger pieces, this recipe delivers the perfect balance of flavors and textures. Whether you’re baking for a birthday, a holiday, or a casual family gathering, the Butterfinger Cake recipe guarantees to impress.
This cake is also incredibly versatile, making it easy to adapt to suit your preferences. From gluten-free options to lighter versions, the Butterfinger Cake recipe can be customized to fit any need. Best of all, it’s simple to prepare with ingredients and tools most home bakers already have on hand.
So, why wait? Try this Butterfinger Cake recipe today and experience a dessert that’s as fun to make as it is to eat. Your family and friends will thank you, and you’ll have a new go-to recipe for all occasions!
FAQs
Can I make Butterfinger Cake ahead of time?
Yes, it’s even better after chilling overnight.
What can I use instead of Butterfinger candies?
You can use toffee bits or other crunchy candy bars as substitutes.
Can I freeze Butterfinger Cake?
Absolutely! Wrap it tightly to preserve its freshness.
How do I make the cake more moist?
Poke enough holes and spread the condensed milk and caramel evenly across the cake.
What frosting works best with Butterfinger Cake?
Whipped topping pairs beautifully with the rich flavors of the cake.
